How to grow mushrooms, Part Four: Harvesting!

Table of Contents
How to grow mushrooms from spores, part four: how to harvest your mushrooms!
“Oh yeah mate like I need help picking my mushrooms” – well actually, it ain’t as simple as you might think. You want to try and keep things as sensible as possible because you can get four to five flushes of mushrooms off your substrate. with a bit of luck. Now that you’ve done literally all of the hard work and learned how to grow mushrooms, you really should make sure to get the maximum yield for all the work you’ve done! This bit will help you out! If you haven’t already read the previous parts, Inoculation, Spawn Colonisation, and Spawn to Bulk, go back and do that, then pop back here for a glimpse of what you could be doing if you only lived in a country where it was legal to grow mushrooms!
Things You Will Need:
· Knife
· Scissors
· Tap
· Dehydrator
The best bit!
The easiest way to do this is to float your substrate (another perk of not putting holes in your box). Put your box under a tap, and slowly run water down the side of the tub. You might need to flex the box a little on the sides to free up the substrate, but be gentle. Your substrate will now begin to float! Run the water until your substrate is level with the top of your tub.

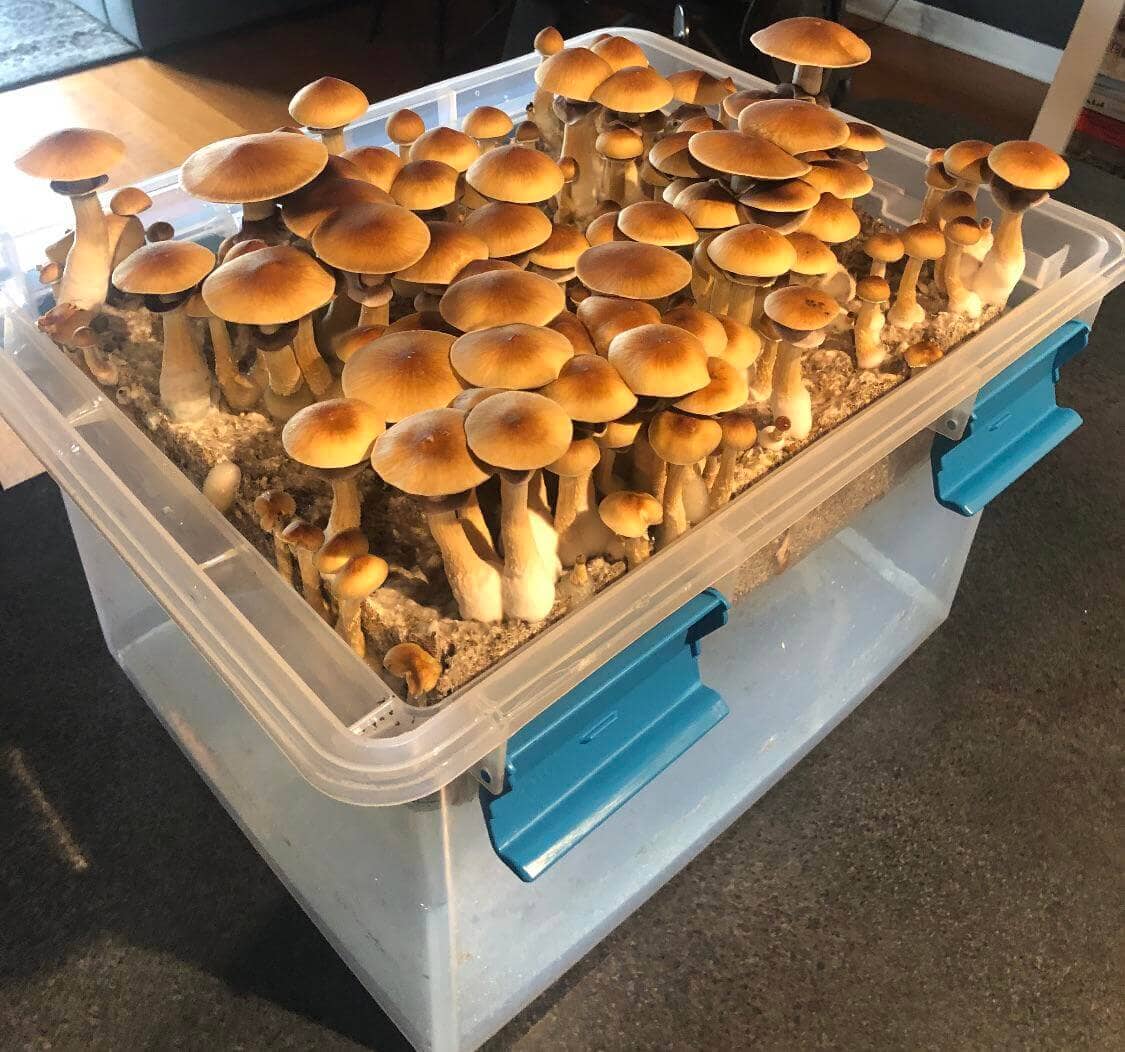
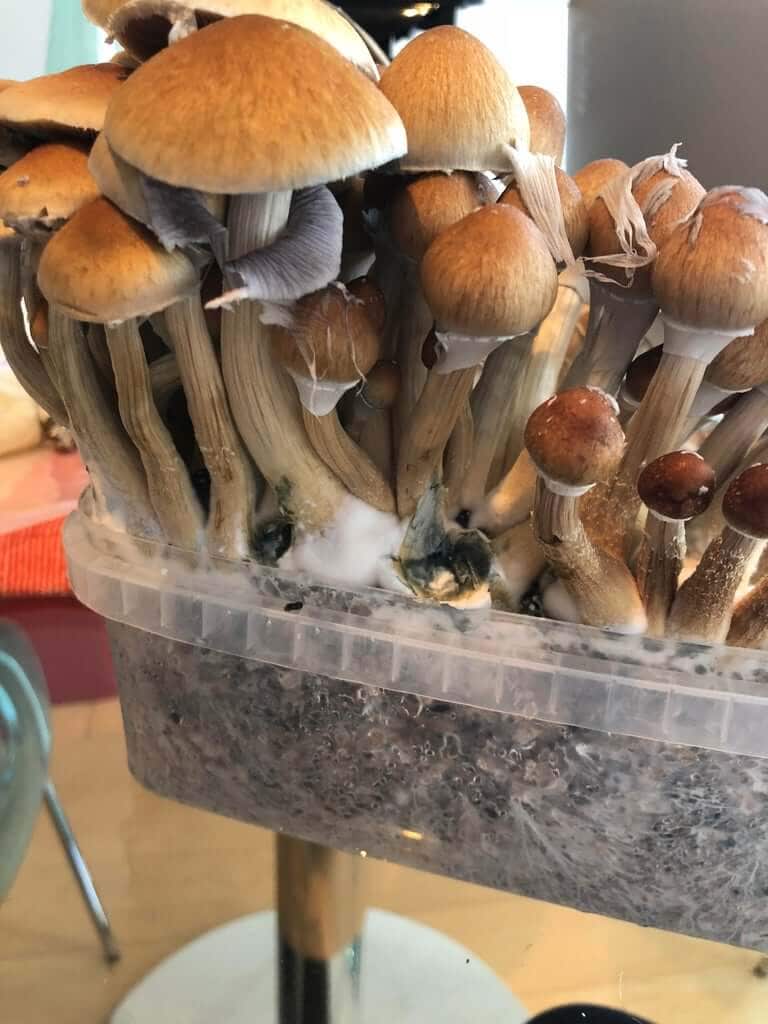
Use scissors (or a sharp knife for bigger clusters) and try to cut the mushrooms fairly close to the substrate, leaving a little stump (as small as possible). This stump is still alive, so it won’t rot, and the mycelium doesn’t get damaged this way, meaning you will probably get more growth from that area and your mycelium can devote more resources to growing mushrooms.
On the flip side of this – any mushrooms that have grown on the side, I pull out. I actively want to damage the mycelium there so hopefully the next flush will have less side growth.
Make sure you harvest every mushroom – you might be thinking “oh I’ll leave the small ones” but they probably won’t get any bigger. Like peckers or titties, some mushrooms are meant to be big, others are meant to be small. They’re all rad.
Now pour out some of the water, put something heavy on top of your substrate (kitchen plates, pan lids, whatever), and put the lid back on. Allow your substrate to soak for at least three hours, maybe overnight if you’re a fancy lad, then drain thoroughly, put the lid back on, and put the tub back into your growing area. You will get a second “flush” of growth, so just keep repeating this process! You won’t be able to replace all of the water that your mushrooms have taken up already, so this will have to do. I have tried injecting water into the substrate with a syringe but it was basically fucking pointless, it’s just not that absorbent so most of the water finds a place to escape from, so stick to the ol’ dunkaroo.
You will now need to dry your mushrooms, as they will rot incredibly quickly, as they’re around 93% water. Best way to do this is with a cheap dehydrator (£50 on Amazon will get you one that will work fine). You can also try and dry them on a radiator sandwiched between kitchen paper, but this isn’t really viable for bigger amounts. Basically, the longer you leave them in the open air the less potent they will end up. You’ll lose loads of weight – a kilo wet will end up being around 90g dry. Once they are dry (they call it “cracker dry” because they need to be at the point where if you bend it, they snap), put them in something airtight like a sealed jar, with some desiccant packets, out of the sun, and they should keep for years. If you’re gunning for the big leagues, buy a sous-vide vacuum sealer off the internet, again, they’re cheap and you can keep the mushrooms forever that way.

At this point, you will have to start misting your tub every so often (you’ll notice your substrate has shrunk away from the sides due to the mushrooms using all the water – you need to try and get water into the substrate and the soak won’t do all of it) – I usually do this once or twice a day, when I can be bothered or remember. You never want to have pools of standing water in your tub (it will cause rot or attract fungus gnats, both of which mean “I am throwing my tub away”), so don’t overwater it. You’ll find what works for you with a bit of trial and error.
How many flushes am I likely to get?
With a bit of luck you’ll get a few more flushes. It tends to go like this:
First Flush: Lots, but they tend to be smaller
Second Flush: Not quite as many but still plenty, a bit bigger, roughly similar yield to first flush
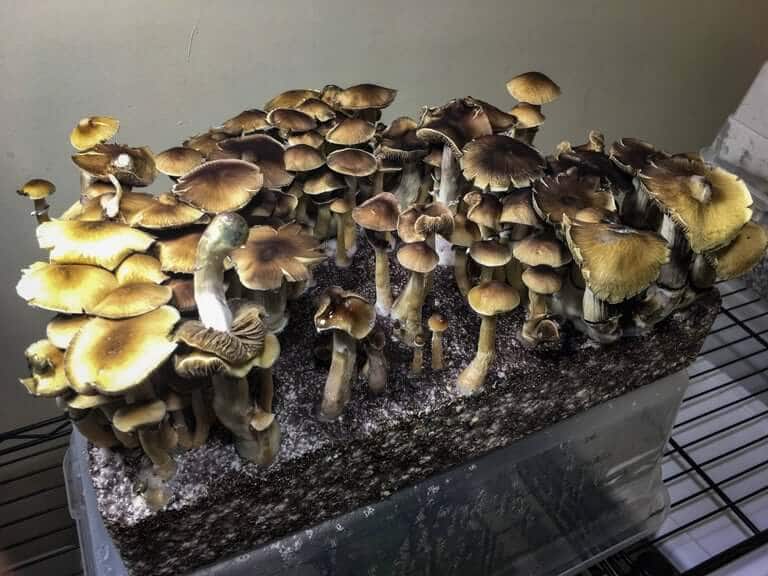
Third Flush Onwards: Usually less fruits but they can get really big
After the third flush usually most of the nutrients from your grain have been used up. You will get a few mushrooms each flush after this point, maybe five or six. Feel free to keep this going for curiosity’s sake (I’ve had a tub going for about three months that just kept pushing out two mushrooms at a time), but it’s pretty much the end of that run. Bury that substrate in the garden (it’s great for your plants and also might throw a cheeky mushroom up), sanitise the tub using the stuff you have bought, begin again.
So yup, that’s about it. Like I said before, there’s loads of good ways to do this, but this is the way that I have tried and tested over lots of iterations. It works for me. It’s a bastardisation of a lot of different techniques, in fairness, but it worked for me in a very repeatable way. I obviously don’t do this any more because I moved back from Brazil. Feel free to fuck with it and improve on it, if you live there. Best of luck!